Blueprint Publishing
Publishing Blueprints is a fundamental part of providing self-service access to infrastructure and applications.
We would recommend the following process when publishing a Blueprint.
- Head to the
Blueprintspage underDesignand click on the Blueprint you would like to publish. - Catalog Design, in which you can specify:
-
Display Name: This name can be different than the Blueprint file name from git.
-
Icon: Choose from a list of default icons or upload your own. Notice the icon needs to be in SVG format.
-
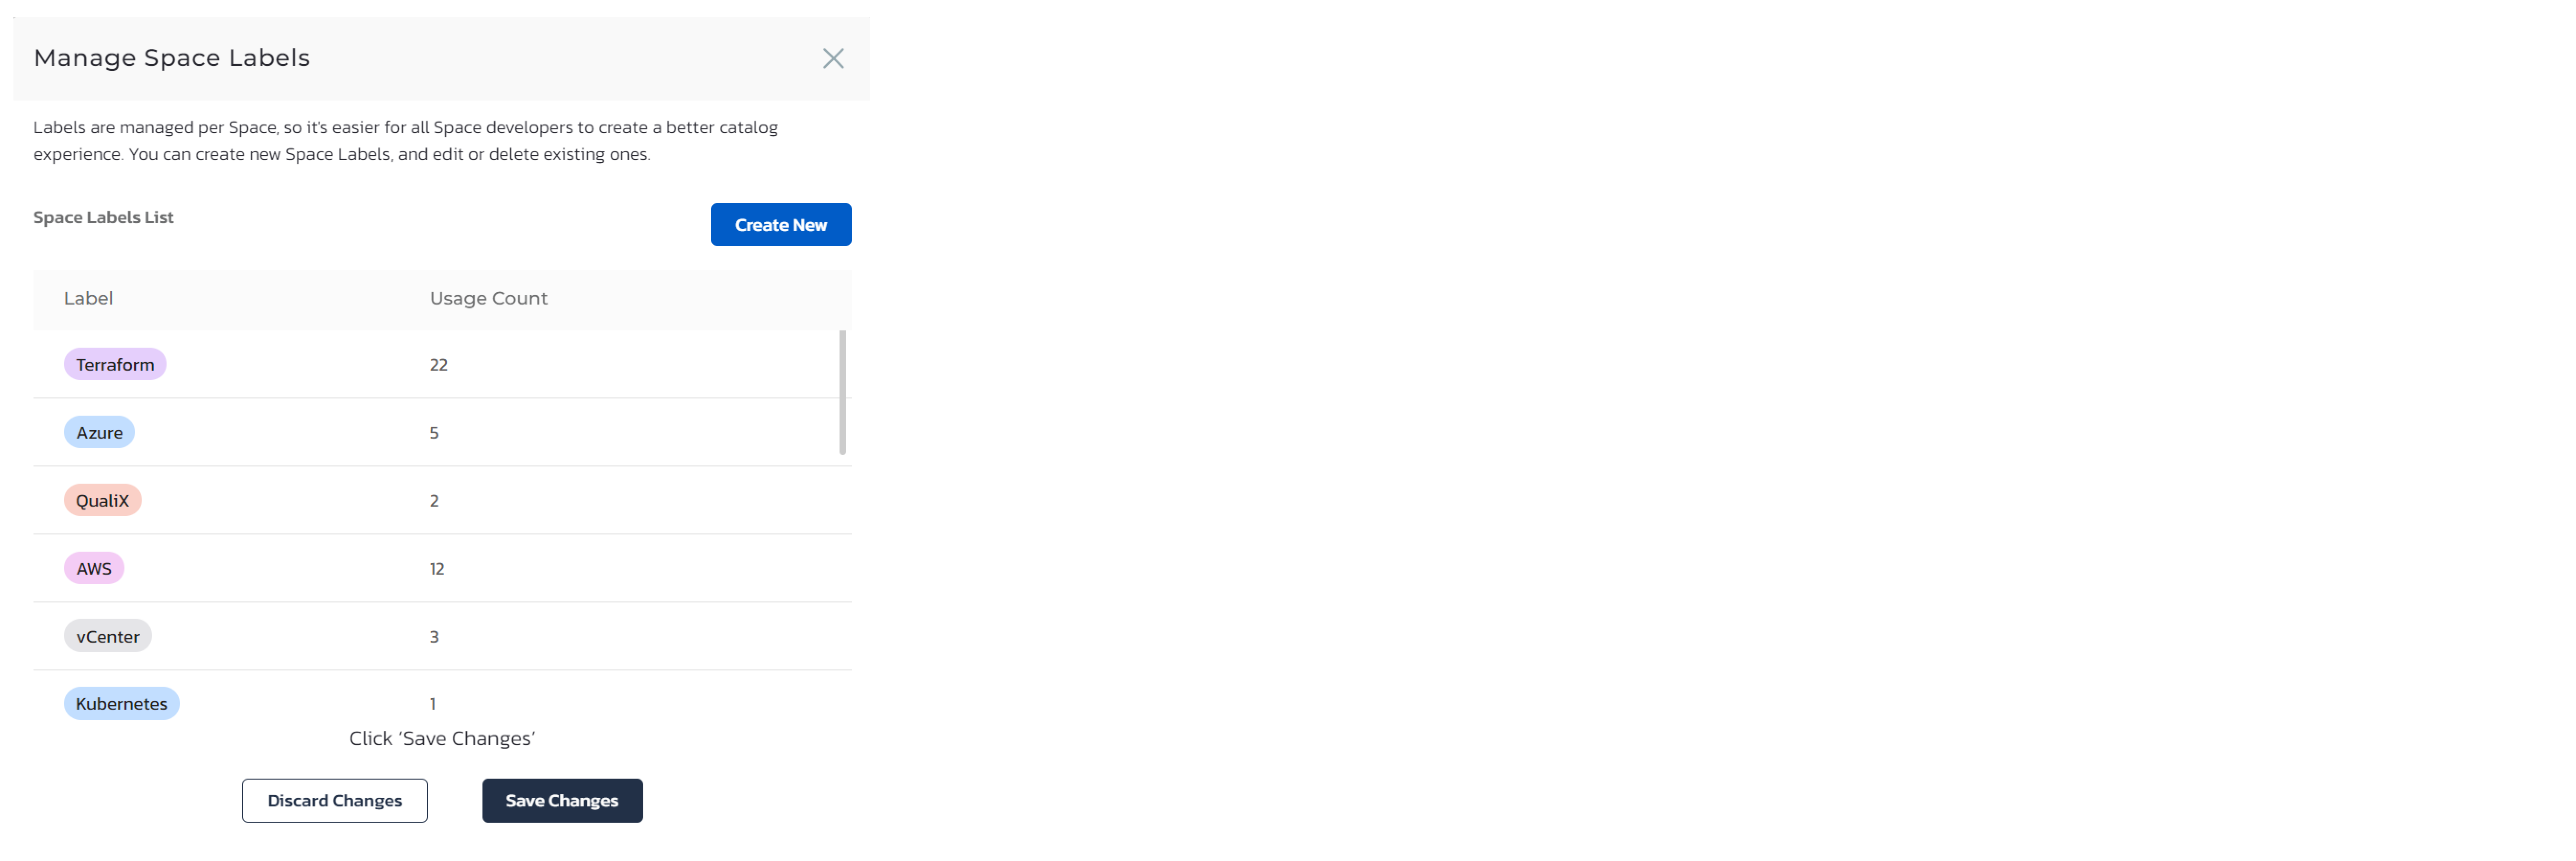
Labels: These are an important part of additional data designer can add to a Blueprint in order to assist consumers when selecting a Blueprint from the catalog. In order to create a new label click on Manage Space Labels. In the dialog click on Create New, specify the label name and color then click save. Now in the Blueprint labels area the new label will be available.

-
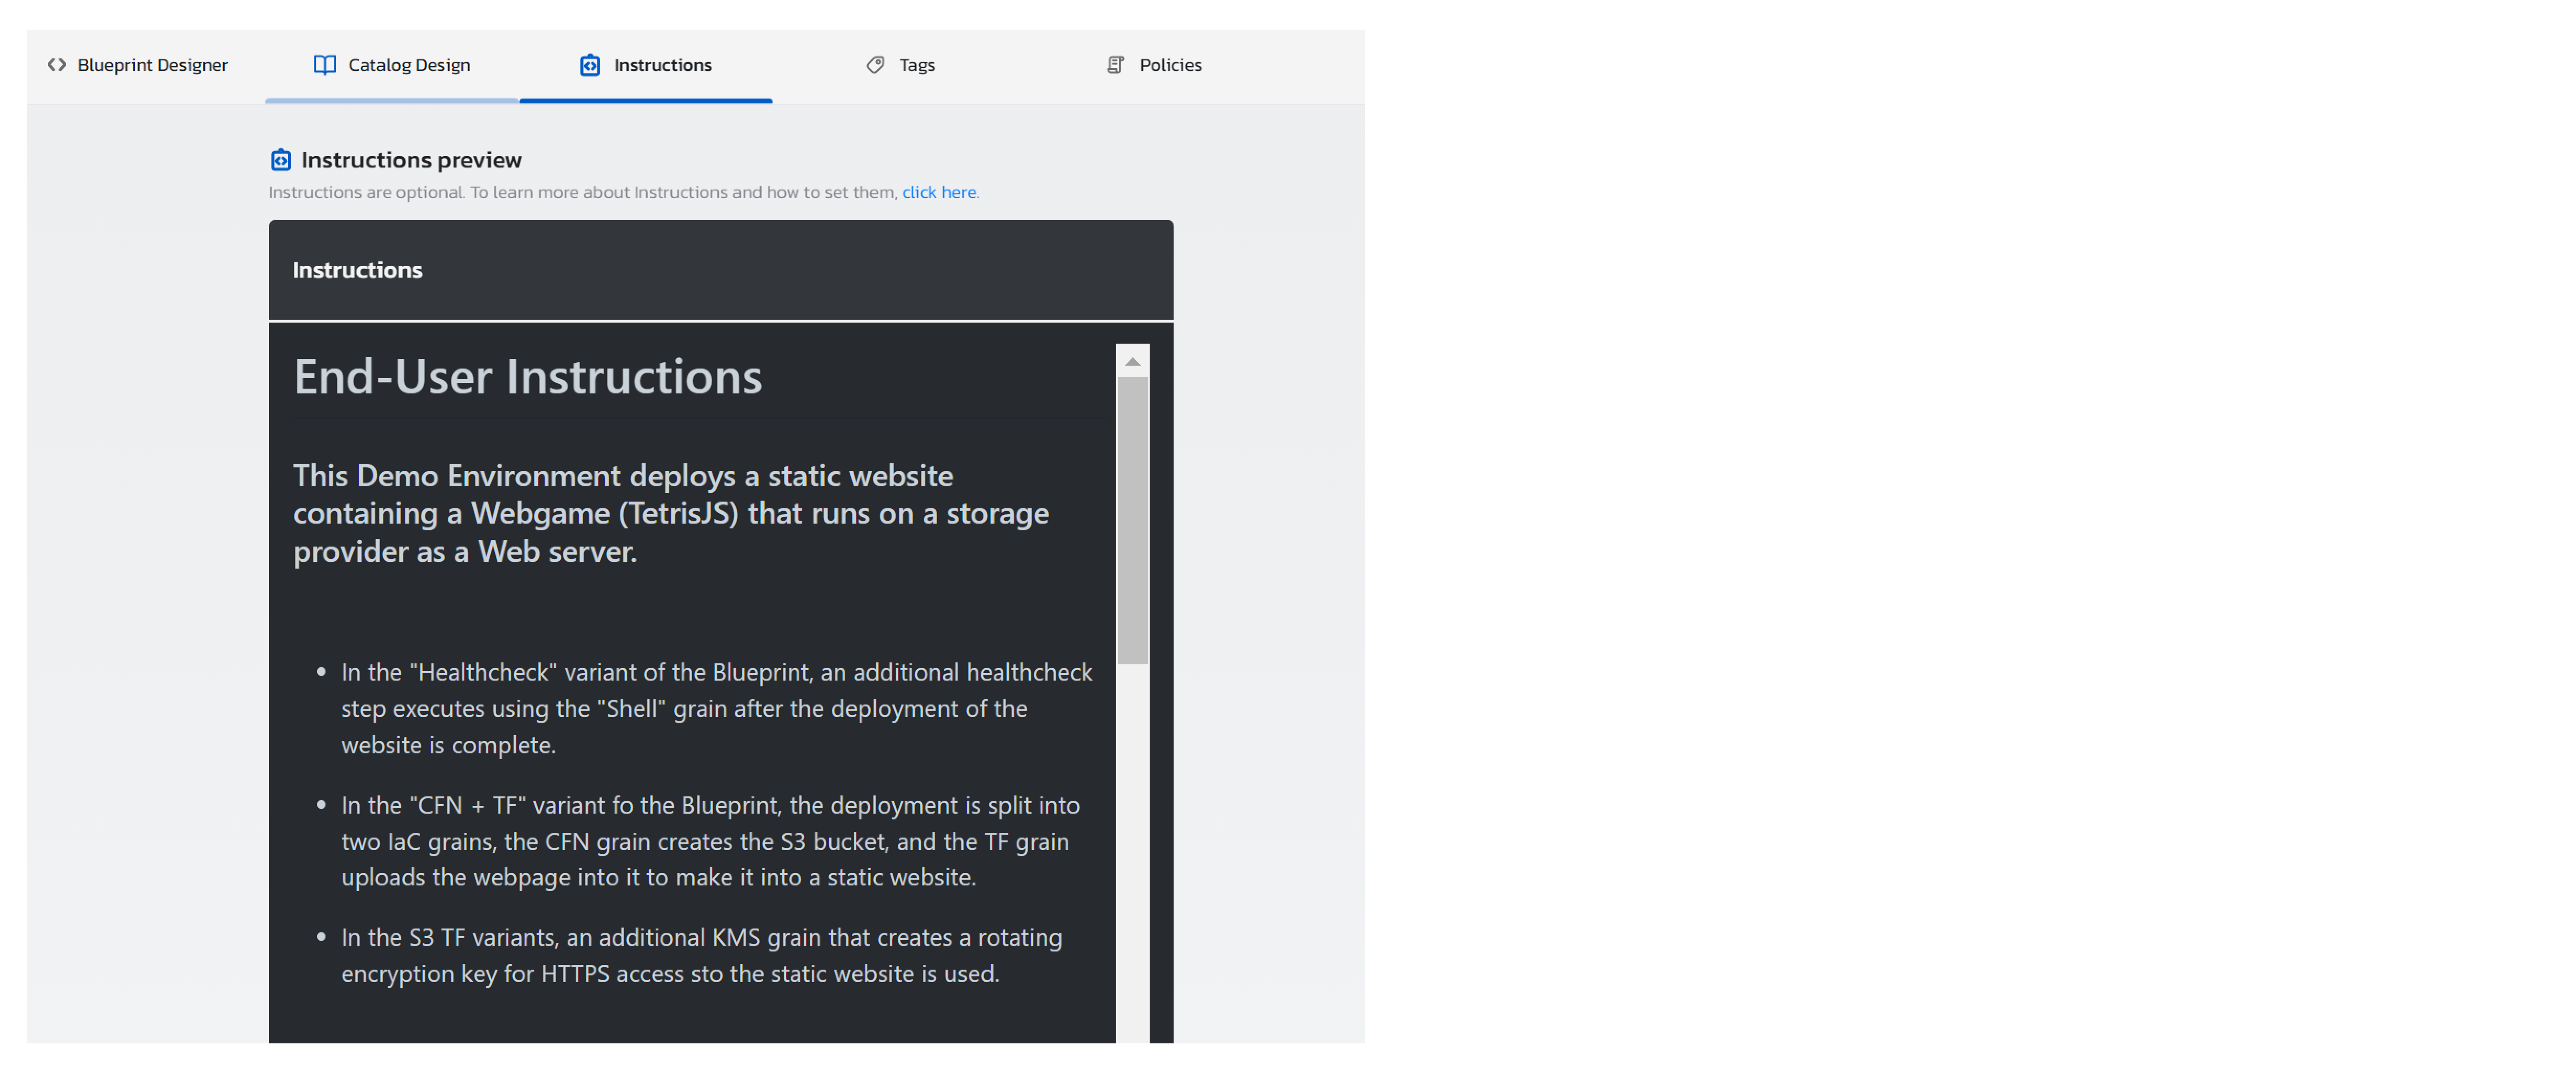
Instructions: When adding instructions to the Blueprint (see link) this is where you can see the end user view of the instructions.
-
Policies: Set the Blueprint consumption policies according to the description here.
-
You can now go ahead and publish your Blueprint by clicking on the Publish button (eye icon) on the top bar.
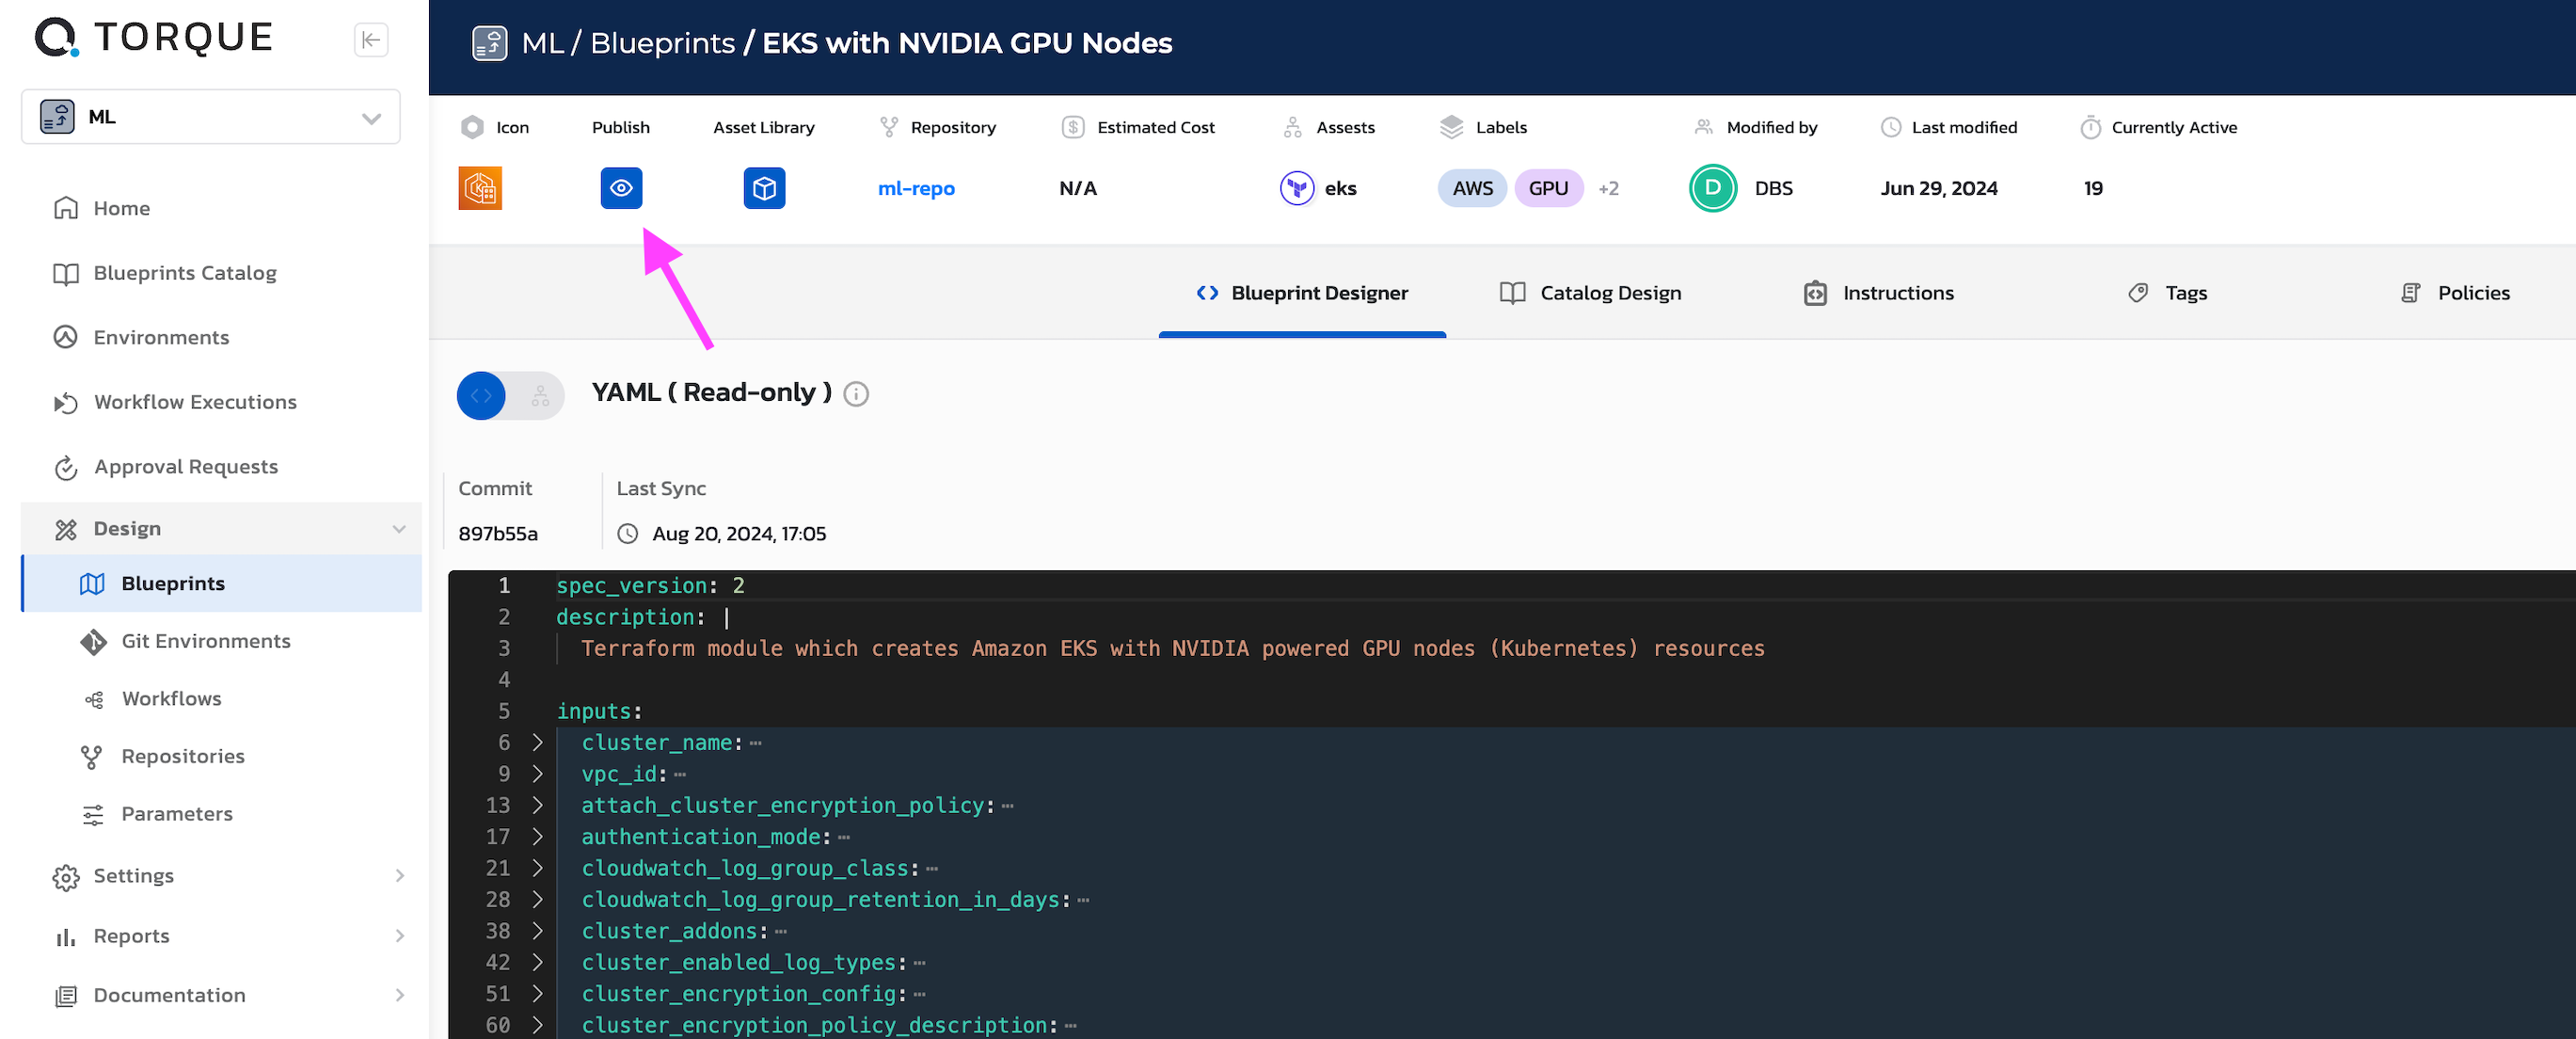
Notice it is now available in the catalog for consumption.
Note: The entire process and publishing data is in the scope of the space.