Torque Agent on Azure VMSS
Torque agent can be hosted in various ways, one of them is Virtual Machine Scale Sets (VMSS). Azure Virtual Machine Scale Sets let you create and manage a group of load balanced VMs, and the number of VM instances can automatically increase or decrease in response to demand or a defined schedule. Instead of using Torque Kubernetes agent, Azure VMSS will utilize Torque Docker.
Torque Agent prerequisites for VMSS
-
Torque Agent installation ZIP
- Open Toruqe self-service web interface as an admin user
- Navigate to the "Administration" section and open the "Agents" tab
- Add a New Agent in the top right corner
- Select vCenter, then "Docker" and provide a name for the new agent (copy the name aside as we'll use it later on in the configuration process)
- Click "skip for now"
-
Torque API long token - Toruqe long token allows API access without the need to refresh token once it's expires. It's possible to use the API references or the Torque self-service web interface to generate such a token.
Creating an VMSS in Azure
-
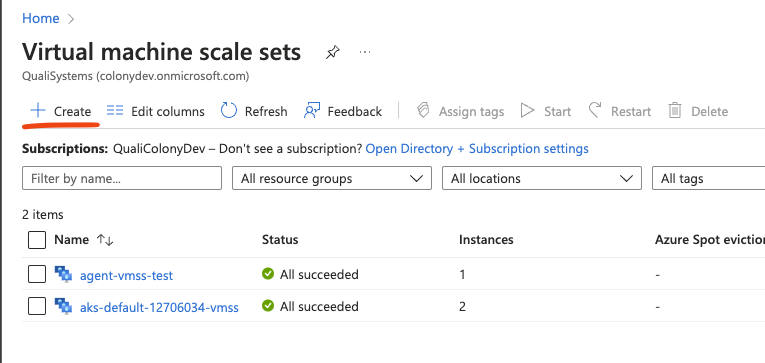
Navigate to portal.azure.com and search for VMSS.
-
click on "Create"
-
Choose a base image for you VMSS while making sure the image ships with docker pre-installed or supports docker execution. Here is an example for an Ubuntu based image shipped with pre-installed Docker.

-
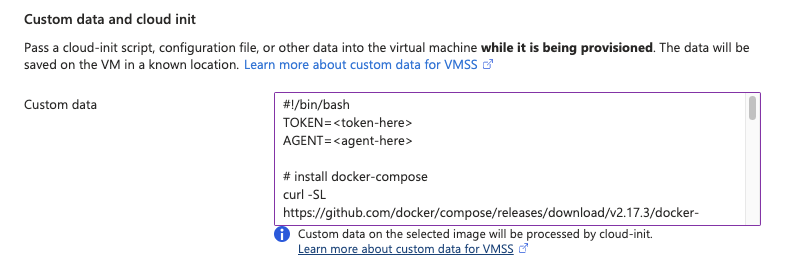
Change to the "Advanced" tab, and use the following installation code script in the Custom data section under Custom data and cloud init. The following code will use the Torque API to install, execute and register the new agent on the VMSS machines once they are launched.
-
Make sure to replace the TOKEN with the token you generated earlier in Toruqe API or self-service, and the AGENT with the name of the torque agent you wish to create.
-
Finish the VMSS creation wizard and wait for the VMS to be created.
Validating the installation
To validate that a new Torque agent was launched following VMSS creation:
-
log into the newly created machine (we used ssh in this example) and run the following:
sudo docker ps -aIn case the installation process ended successfully, you should see two docker containers running on the VM:

-
Login into the Torque web-interface and make sure the new agent is marked as "Active" in the Toruqe administration/agents tab.
Troubleshooting
In case an error occurred or the Torque agent is not presented as Active, make sure to go over the cloud-init logs for more information.
sudo cat /var/log/cloud-init-output.log